Developing 35mm Cinema Film at Home
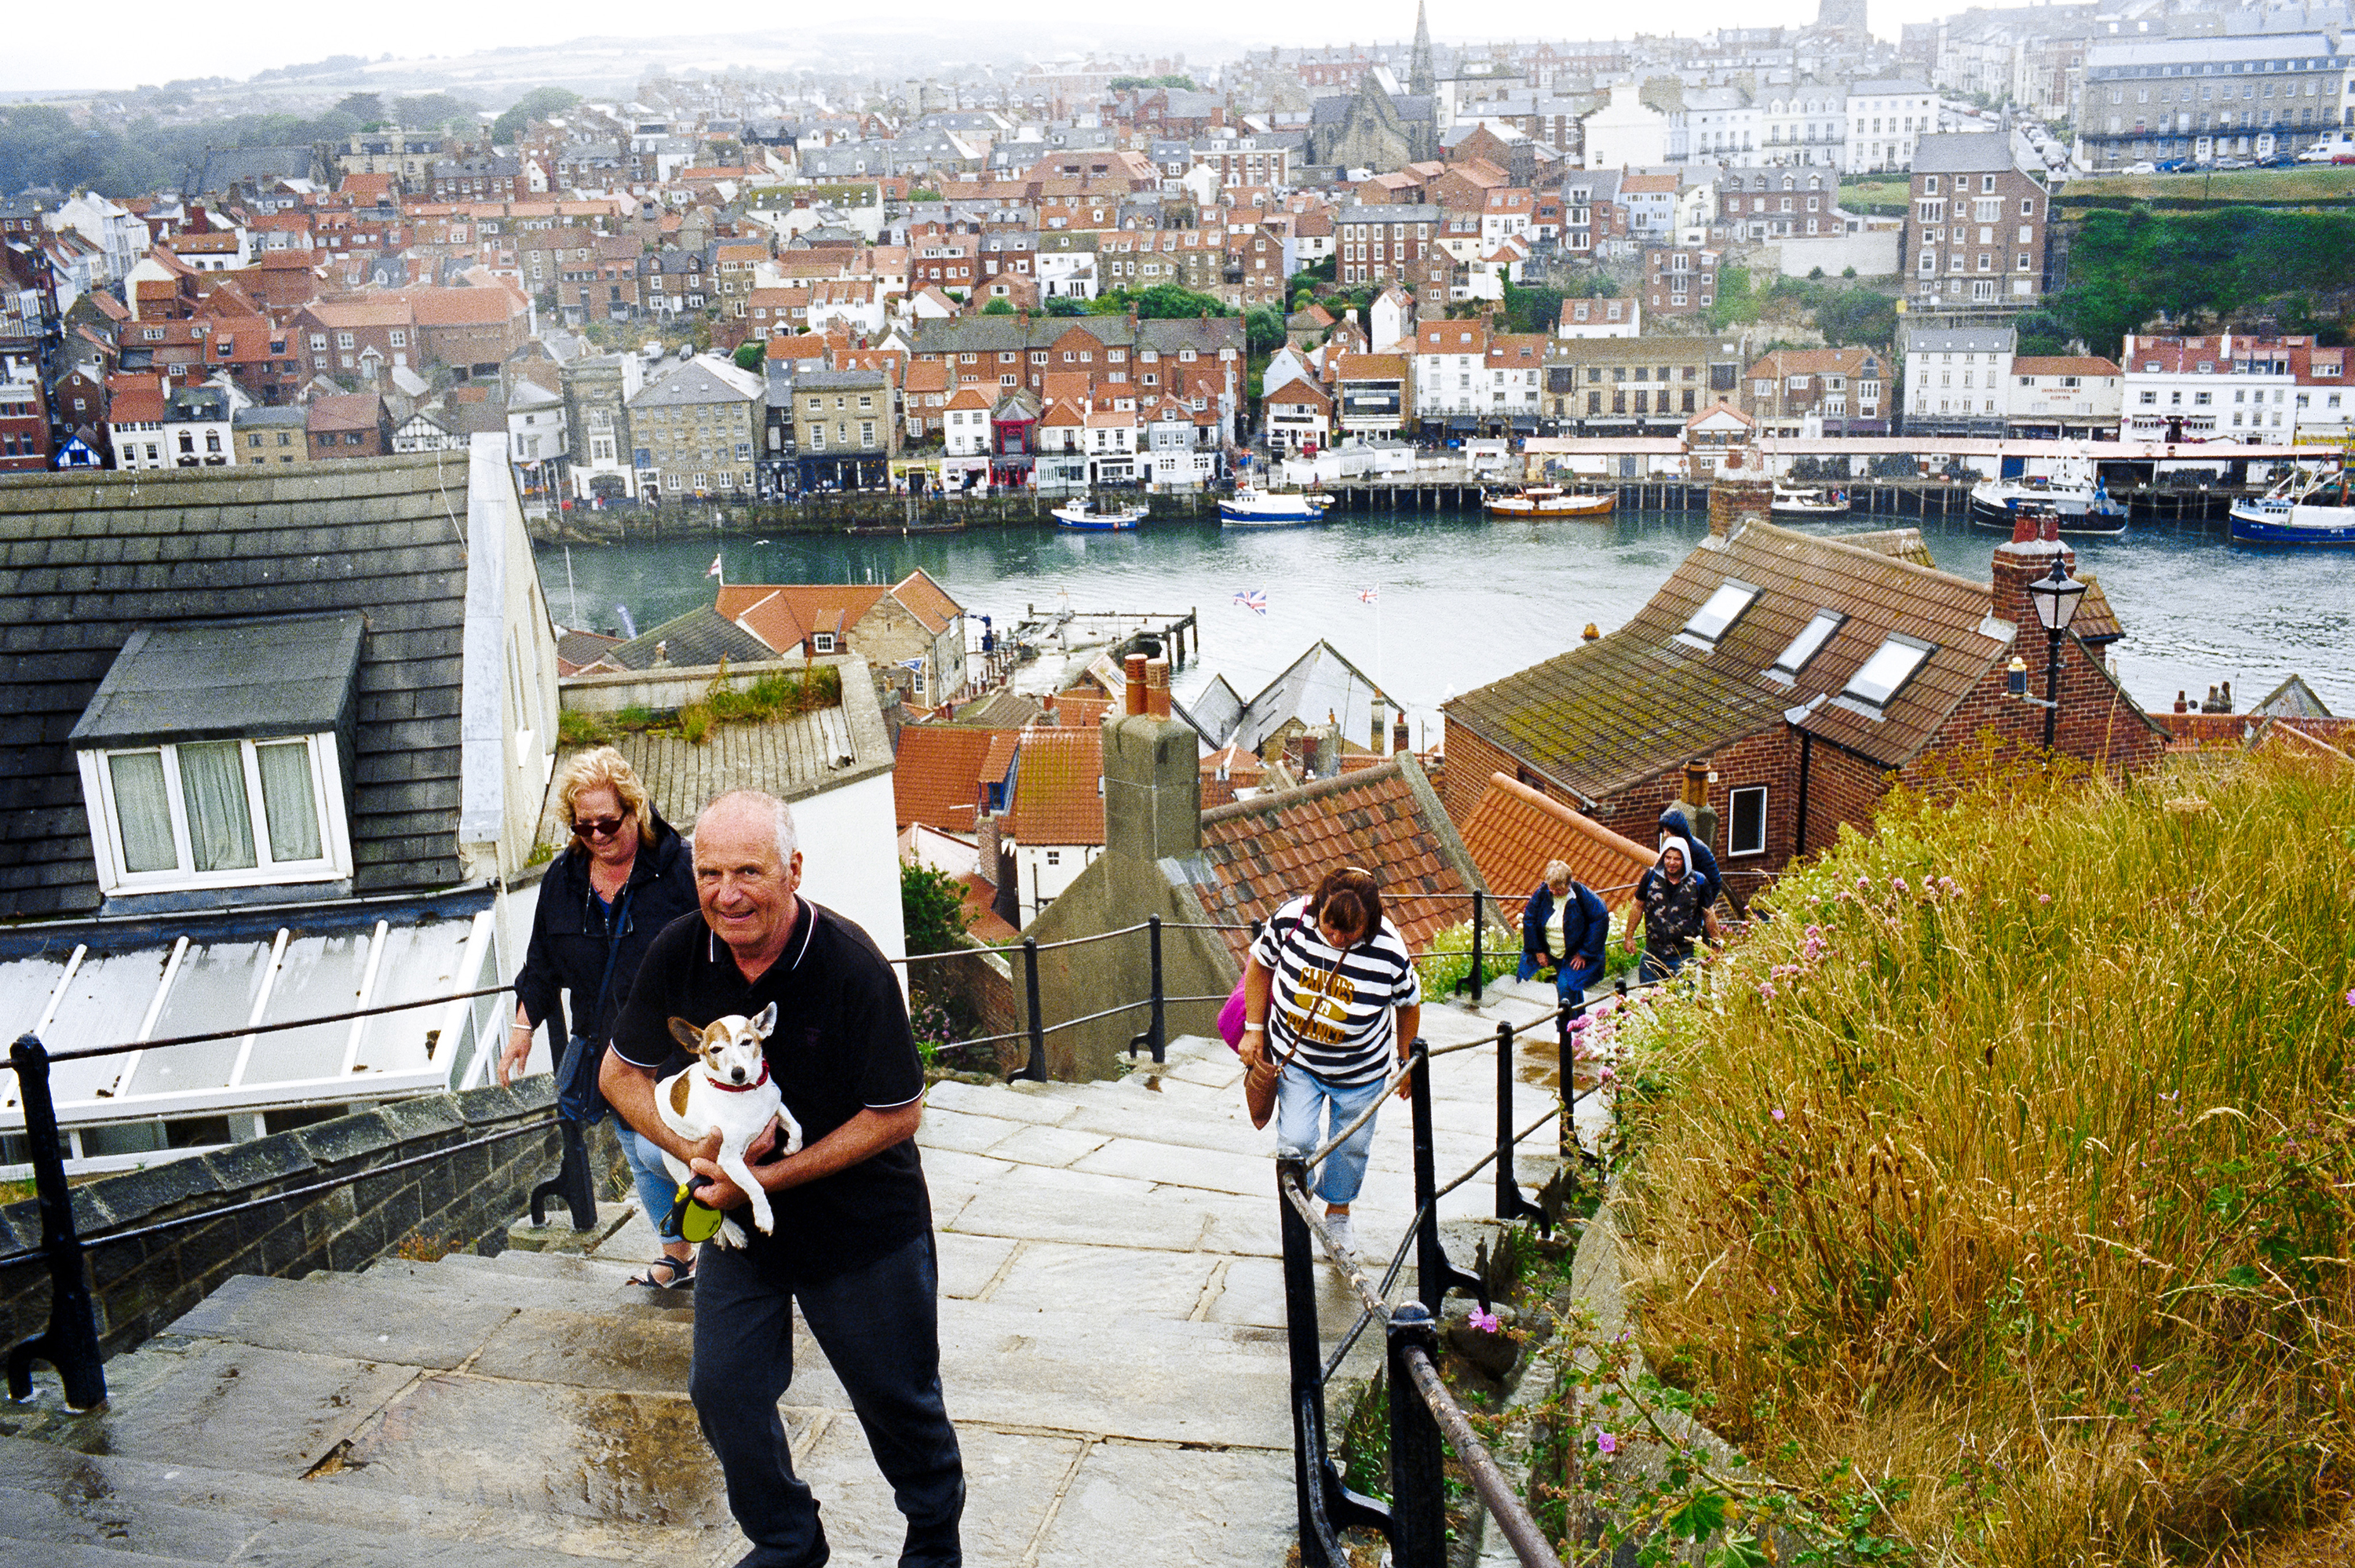
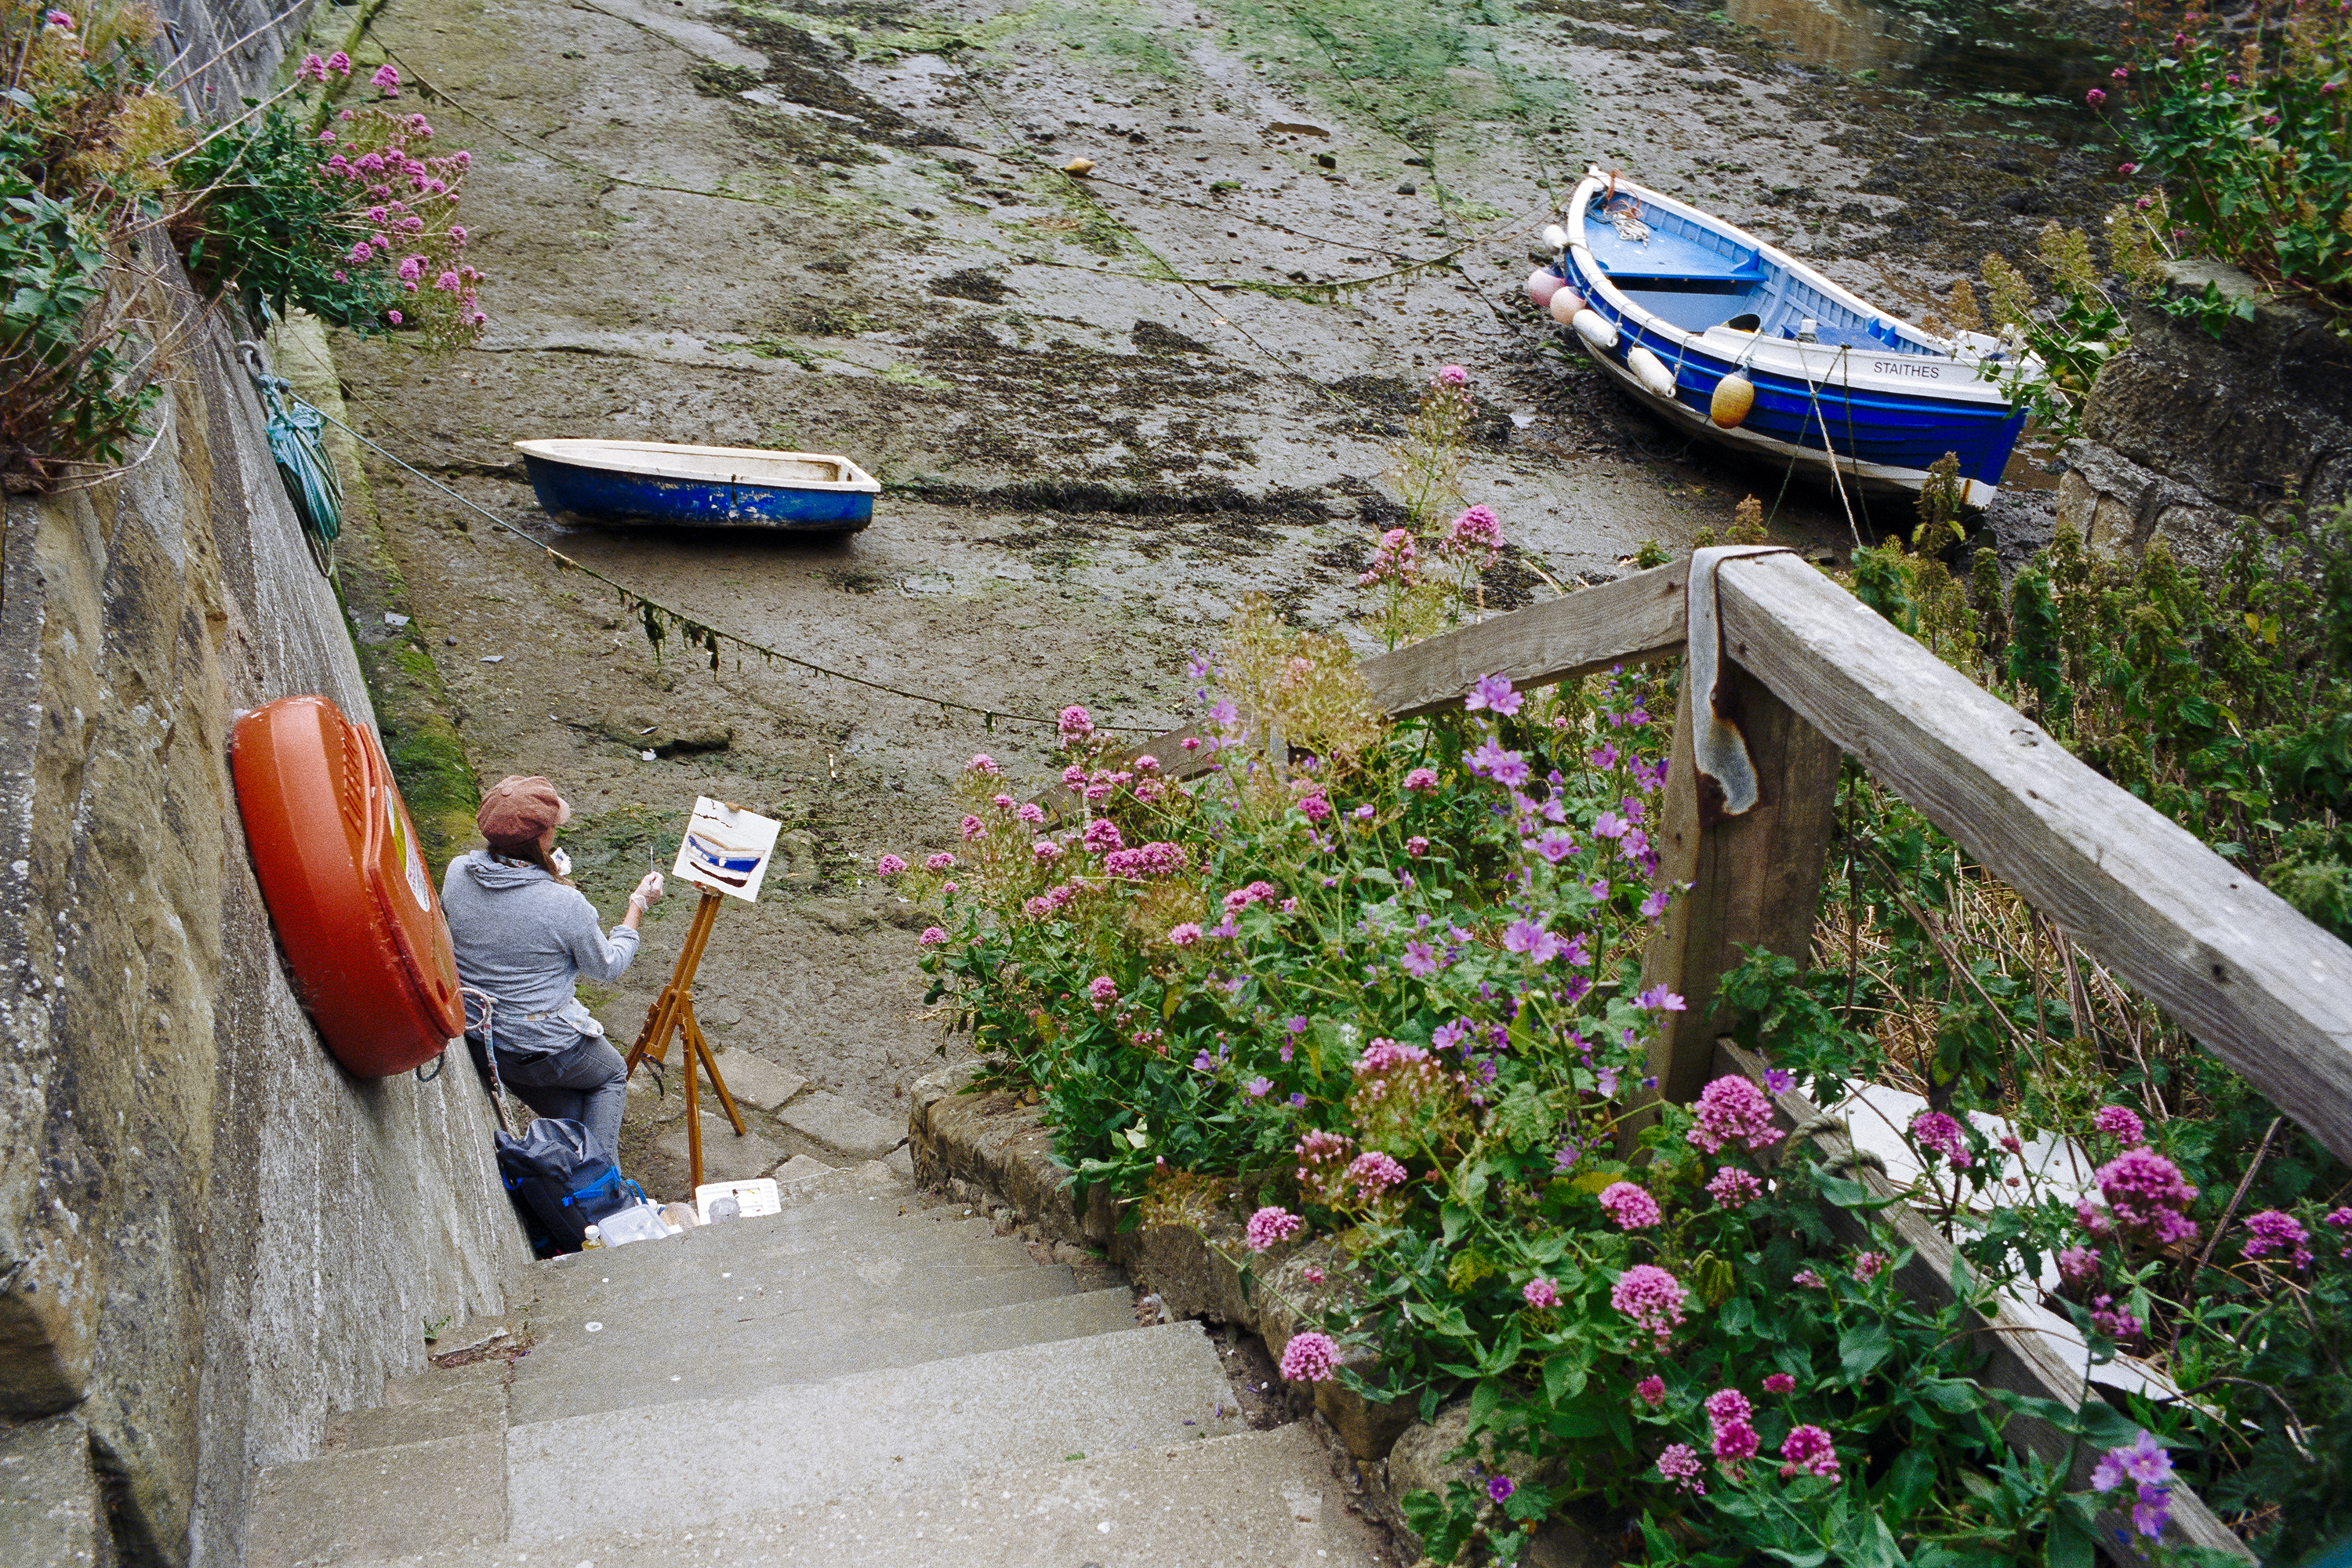
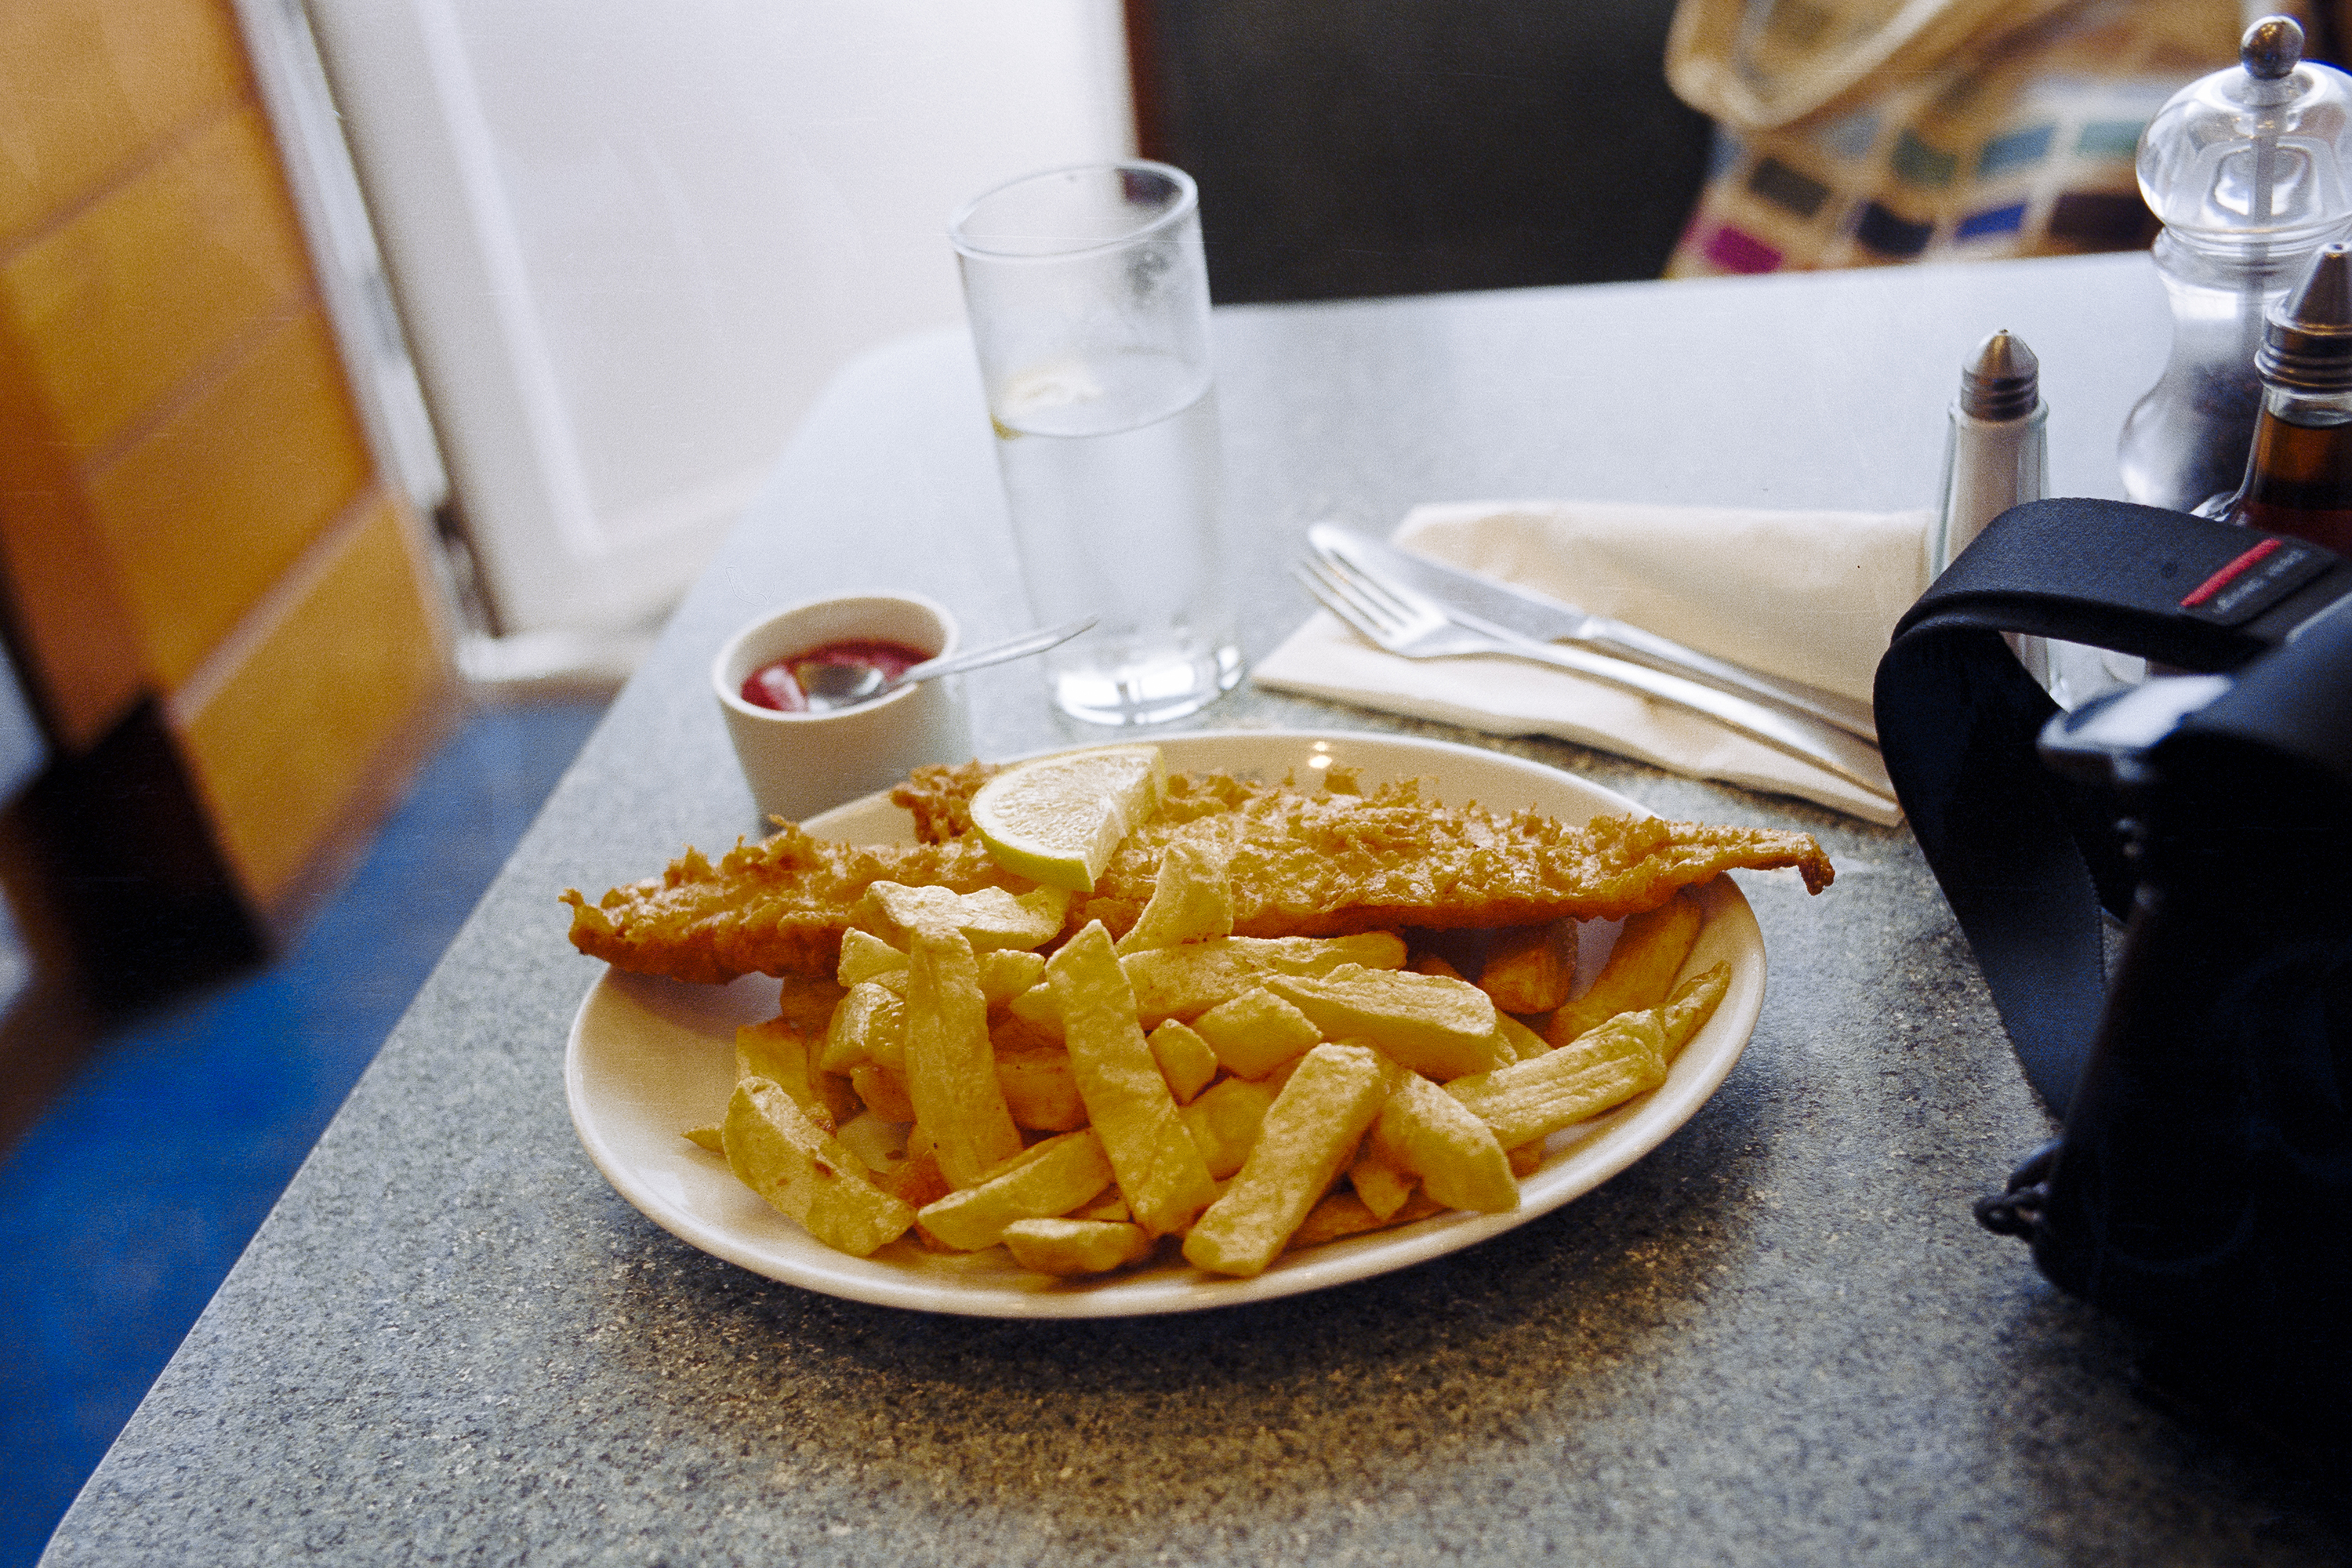
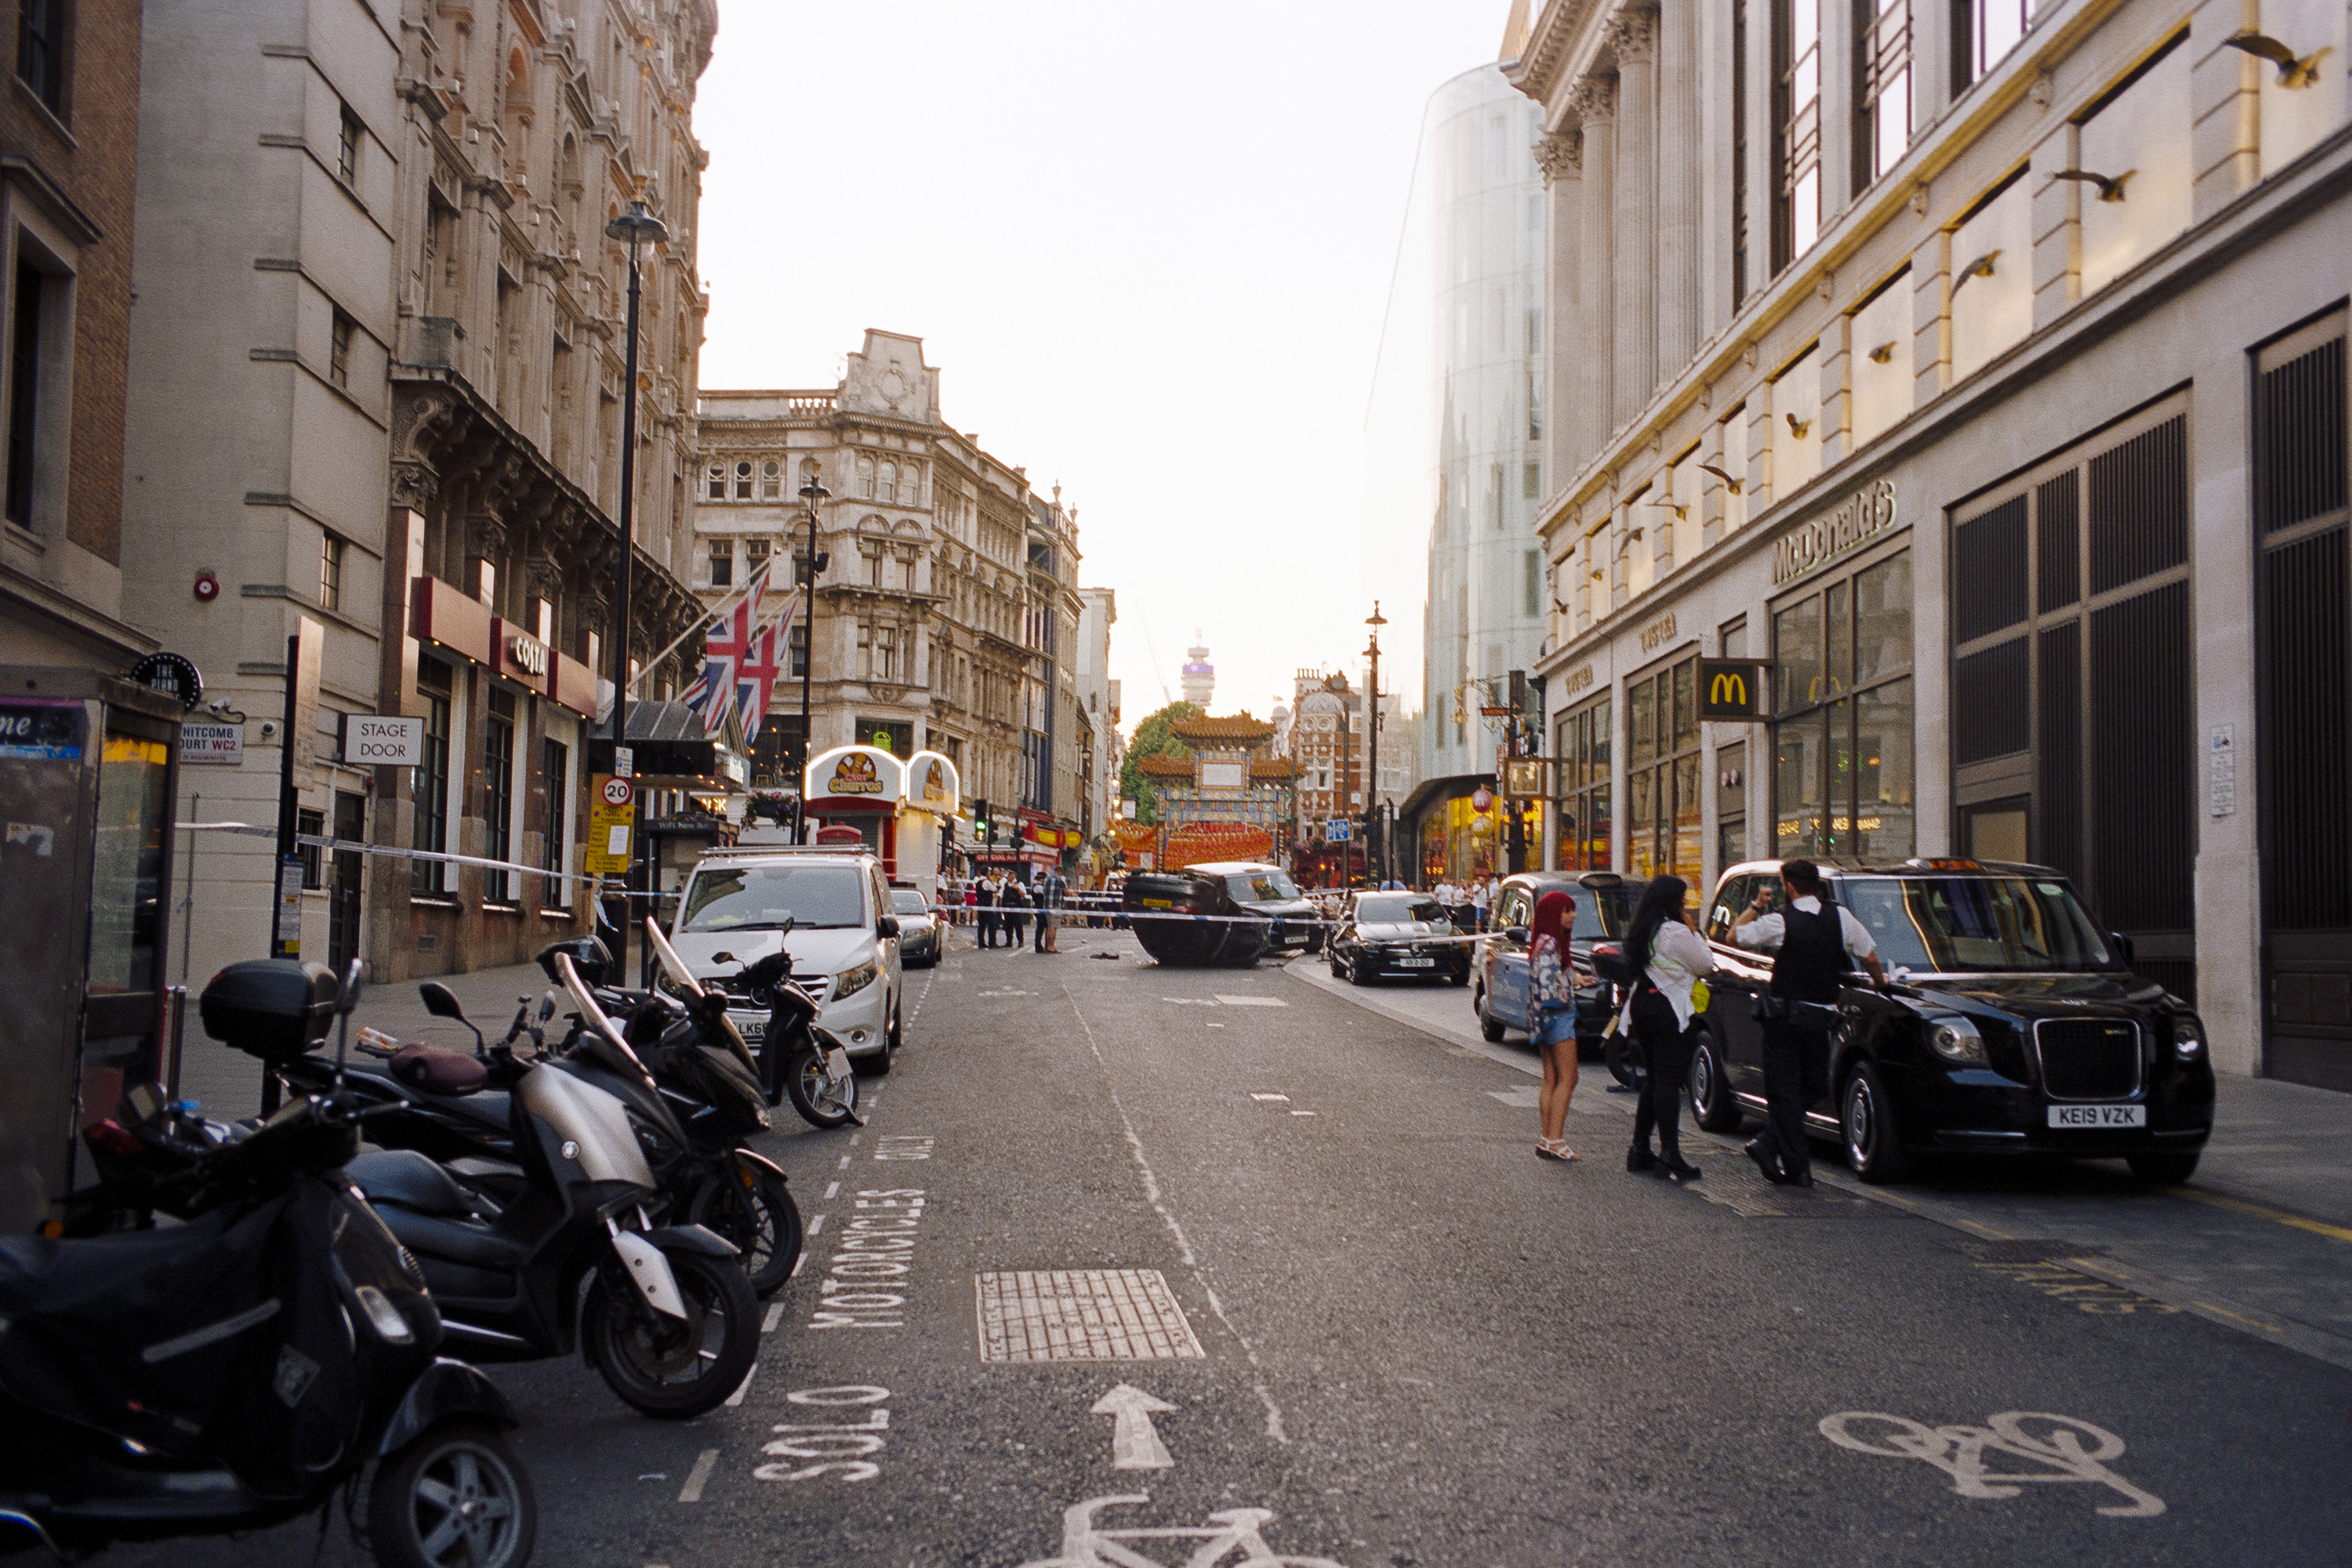
 Kodak VISION3 200D, home-developed with this process
I’ve used this process successfully over 16 rolls so far, using both VISION3 500T and VISION3 200D. Film stock was purchased fresh from Mono No Aware (500T) and eBay (200D). As usual with home development, your experience may vary.
Preparation
- Cinestill CS-2 kit, chemicals mixed
- Loaded tank (Paterson, etc.)
- Baking Soda
- Beaker and funnel
- Mixing rod
Process
- Maintain developer and blix bottles in sous vide set to 107.5 farenheit (to account for temperature variability and developer temperature fall-off during agitation).
- Mix at 4 tablespoons (15g) with 1000ml of process-temperature water (anywhere around 100-106F). Stir thoroughly until baking soda is dissolved.
- Pour baking soda/water mixture into tank - this is the prebath. Agitate four times, and let the tank rest for 1 minute. This is important as it allows the alkaline mixture to start dissolving the Remjet.
- Agitate for 10s, and pour out solution. It should be very dark - that is the Remjet coming loose.
- Pour leftover mixture if any, plus process-temperature water into tank until tank is filled. Agitate for 15s and leave for 30s to 1 minute. Pour out prewash.
- Pour in developer, and develop for 3 minutes and 30 seconds. Agitate the first 10 seconds, and then four times every 30 seconds.
- Pour out developer back into the bottle.
- Pour in blix, and blix for 6 minutes. Agitate first 10 seconds, and then four times every 30 seconds.
- Pour out blix back into bottle.
- Fill warm/hot (80-100F) water into the tank, agitate, and pour out 3 times. Then run warm/hot water into the tank for 3 minutes, making sure the tank is filled and there is a steady stream of water leaving the tank.
- Remove a roll from the spool, being careful to not get the remaining Remjet everywhere, and hang it up in the hanging area. I use the bathtub, and run wires on the shower curtain rod in order to hang up the film.
- Take a very wet, very soft sponge (this is crucial), wrap it gently around both sides of the film strip, and run the sponge downwards. In my experience, if the sponge is wet enough, there should be no scratching on the emulsion side and very minor/if any scratching on the shiny backing (YMMV).
- A lot of Remjet should have been removed - wash the sponge thoroughly and repeat the process until the sponge is clean. Removal of the Remjet at this stage is crucial as you do not want the film to dry with Remjet still on it.
- Re-spool the film back onto the spool, and place back into the tank.
- Repeat steps 11-14 for all the film you developed.
- Fill tank with warm water, and add photo-flo. Agitate for 15s, and let sit for 1 minute. Do not wash the film/put it in contact with water after this stage.
- Remove the film from the spool, and hang to dry. You can run your fingers along both sides to remove excess water if necessary - I do this and get very little streaking/drying residue.
- When drying, make sure to clip the bottom of the film so that the film dries straight.
- It takes about 75-90 minutes for the film to fully dry - gently feel the emulsion at the bottom of the roll; if it is at all moist, wait longer.
- Properly remove the film from the clips to make sure water trapped in the clips at the bottom don’t find themselves on the developed roll - I cut away the film from the clips on both ends, and promptly remove from the hanging area.
Results
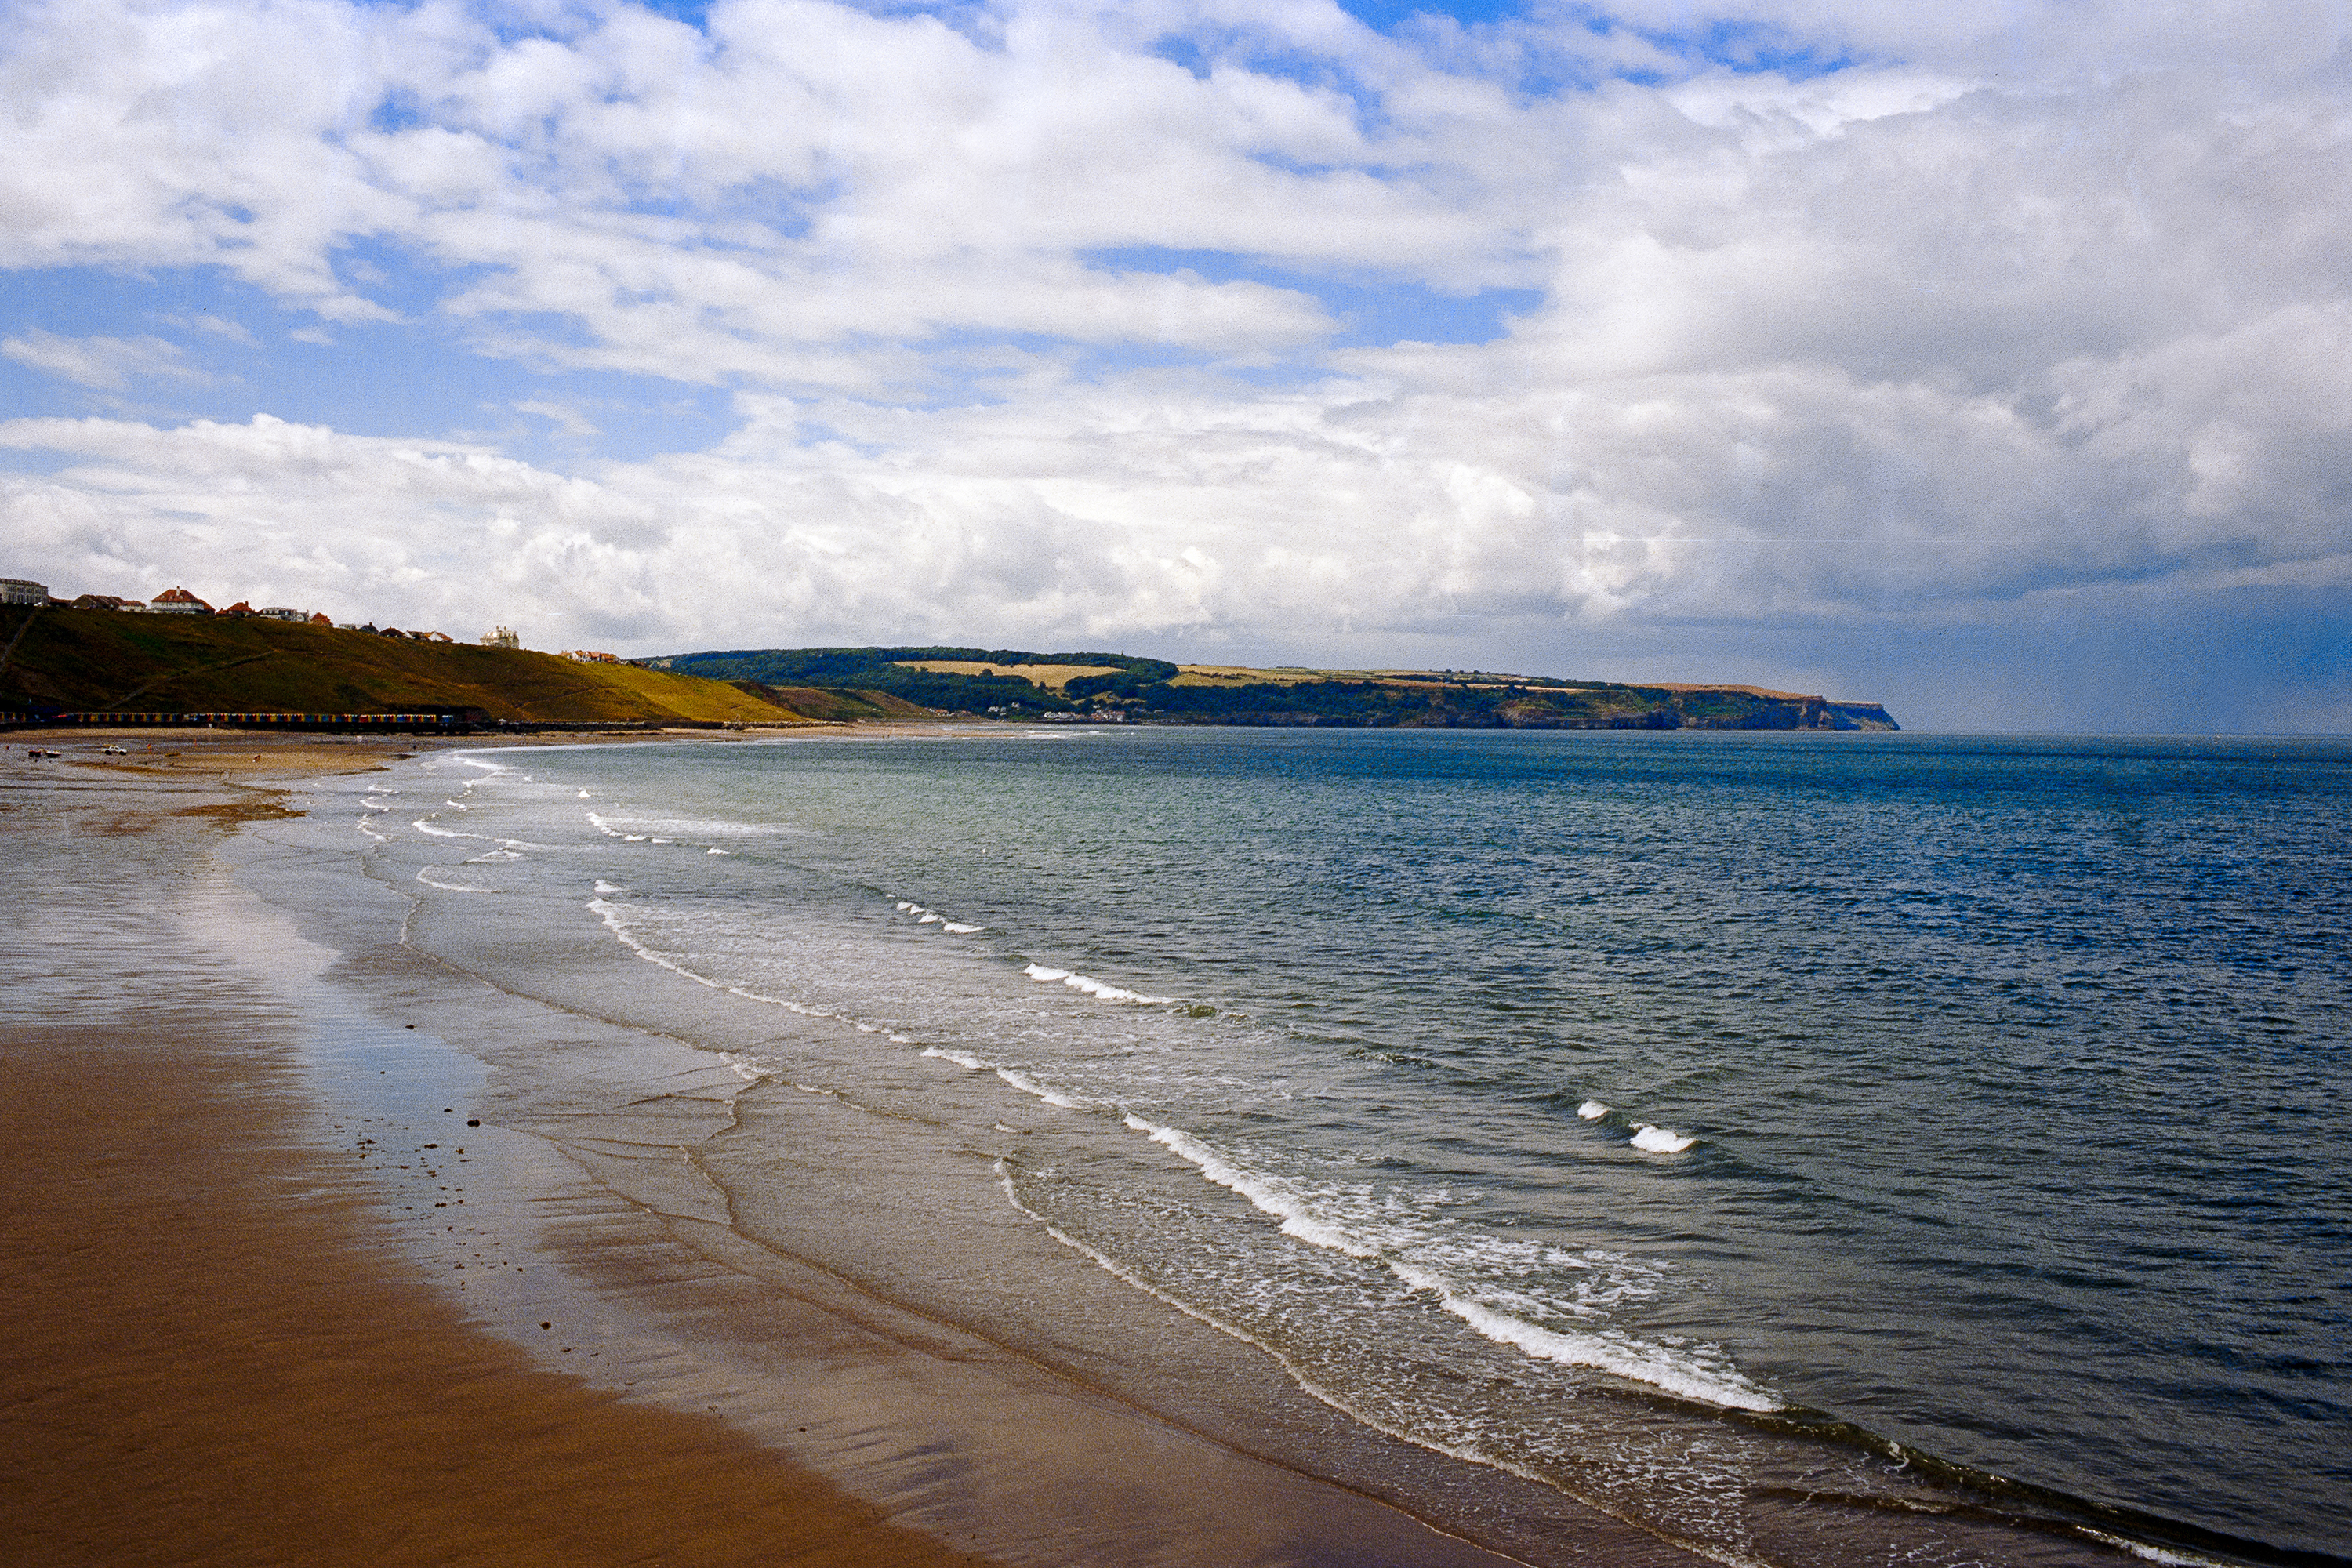
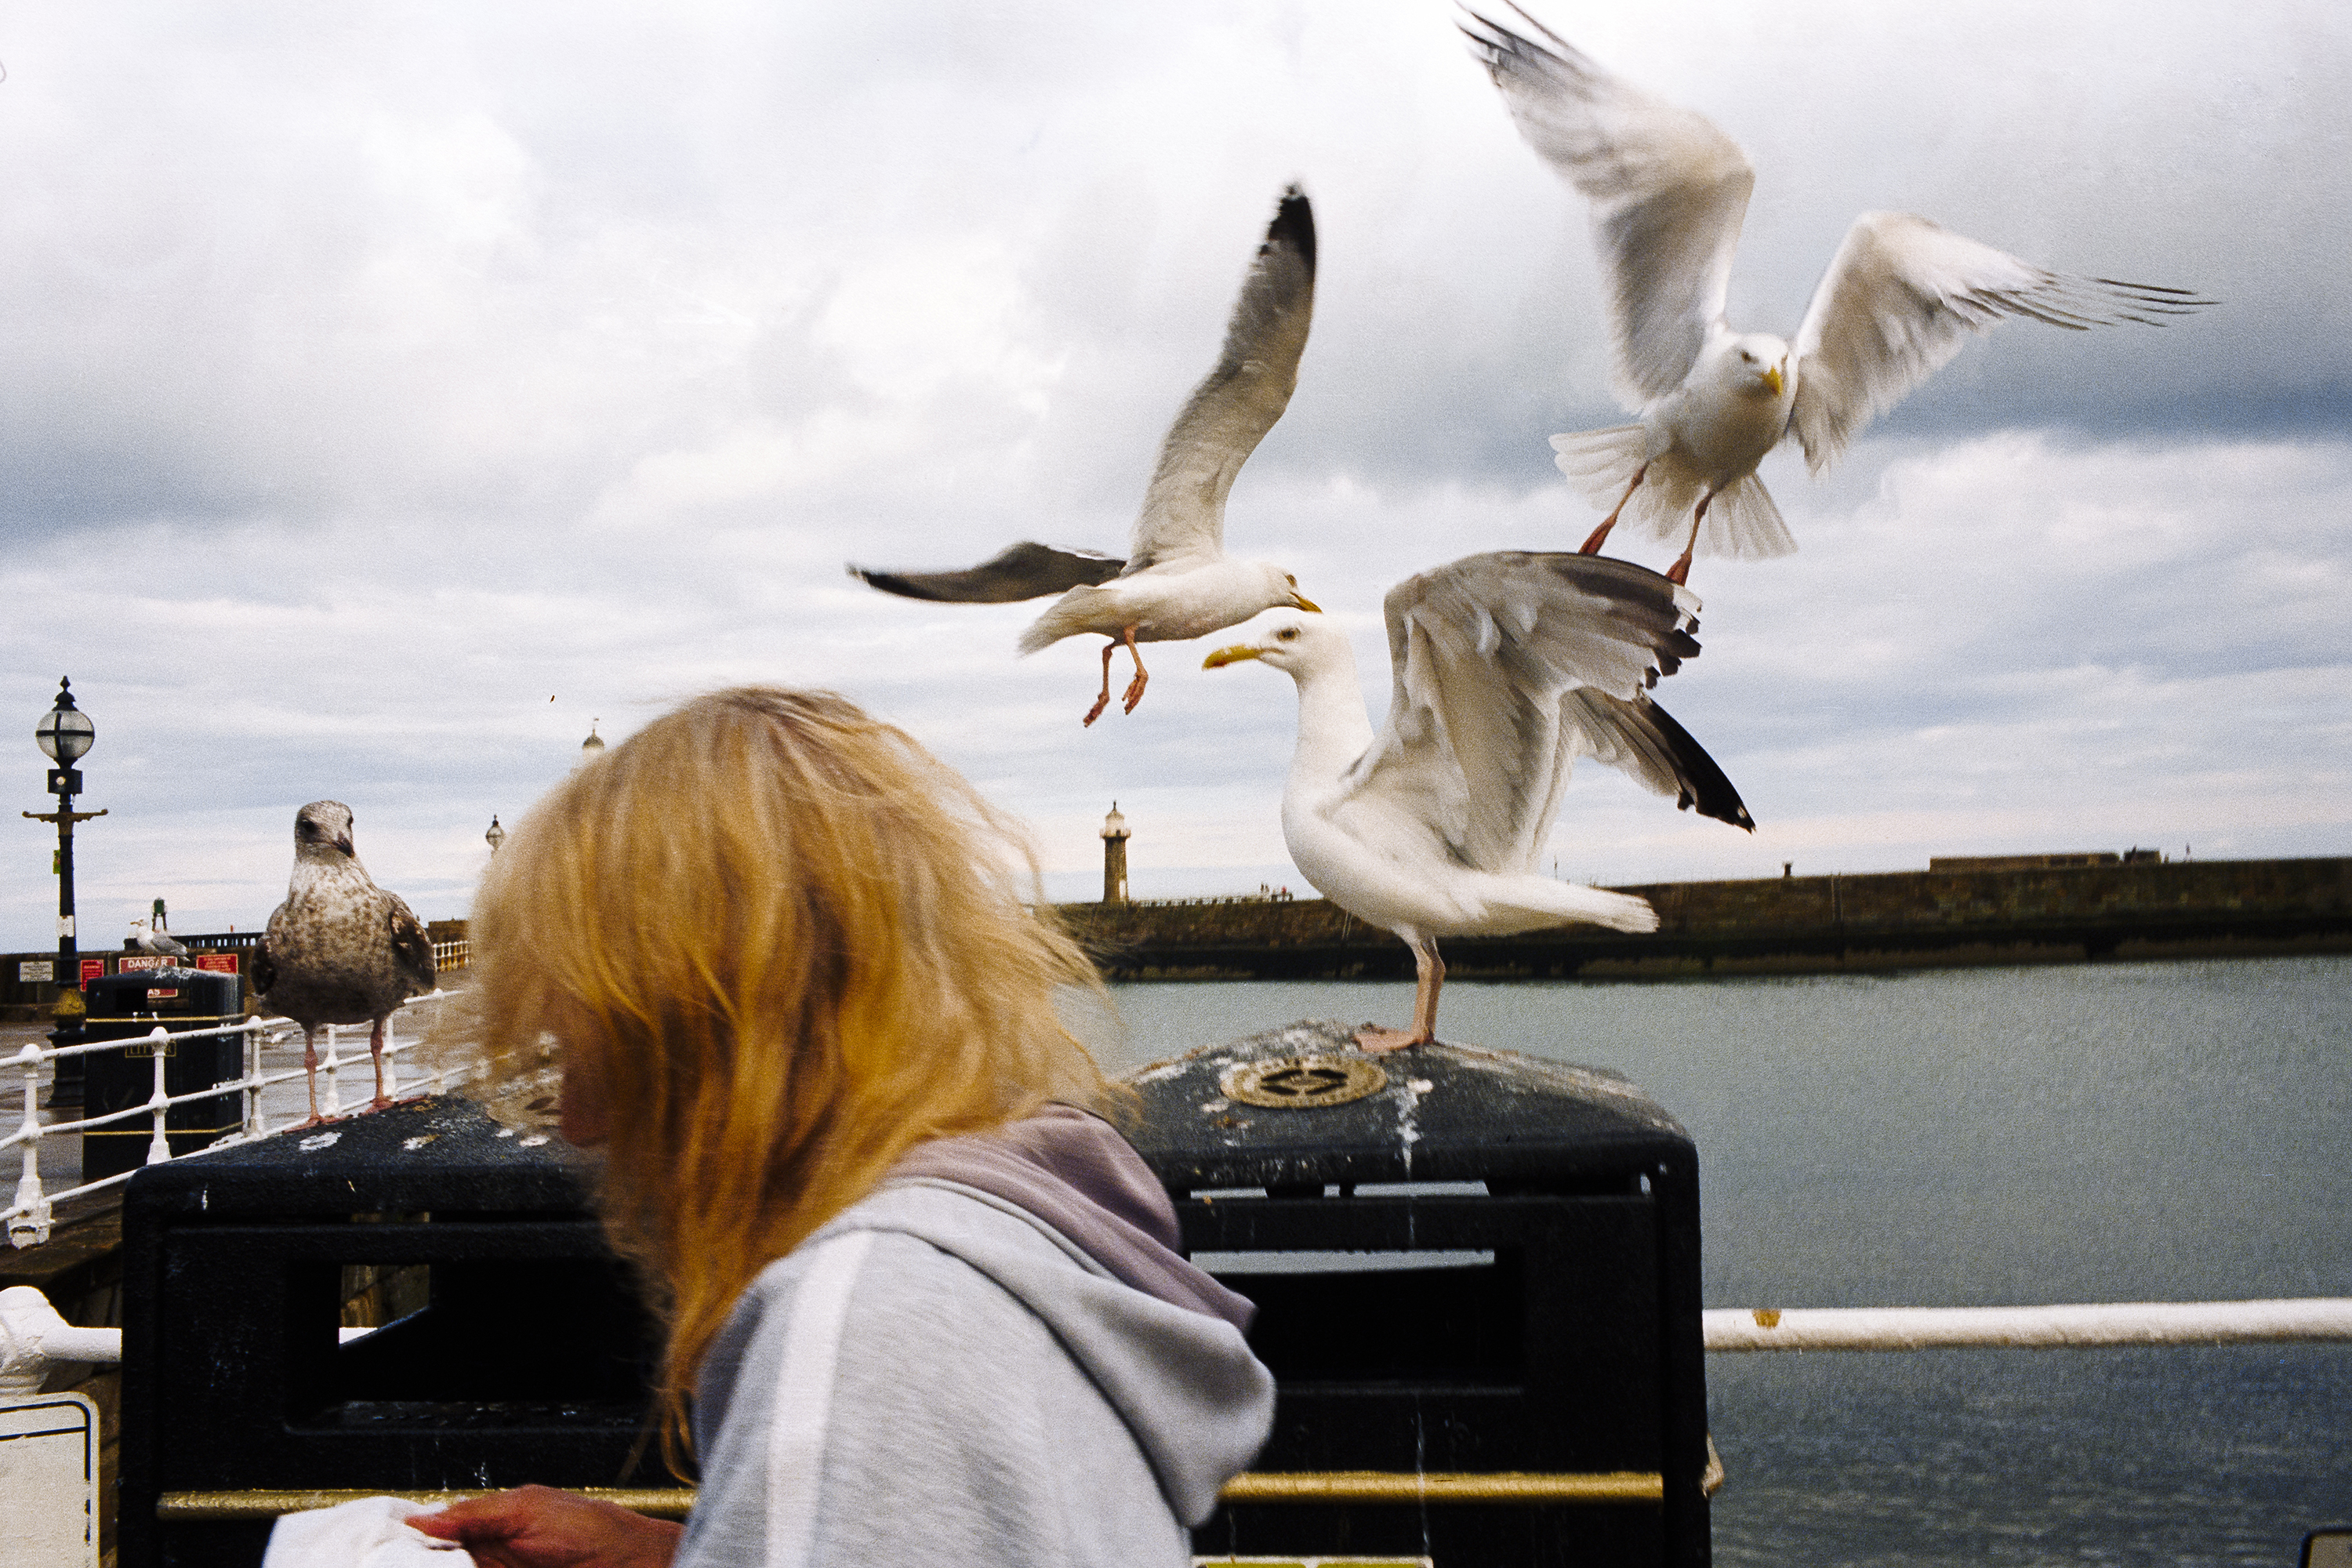
Kodak VISION3 200D, scanned on Nikon Coolscan 4000 and corrected with Negative Lab Pro